Building a small Android test device lab on a budget
How to pick Android test phones by role, buy them refurbished, keep them charged and connected over Wi-Fi, and decide which to update and which to freeze.
 Tomasz Wilk · · 8 min read
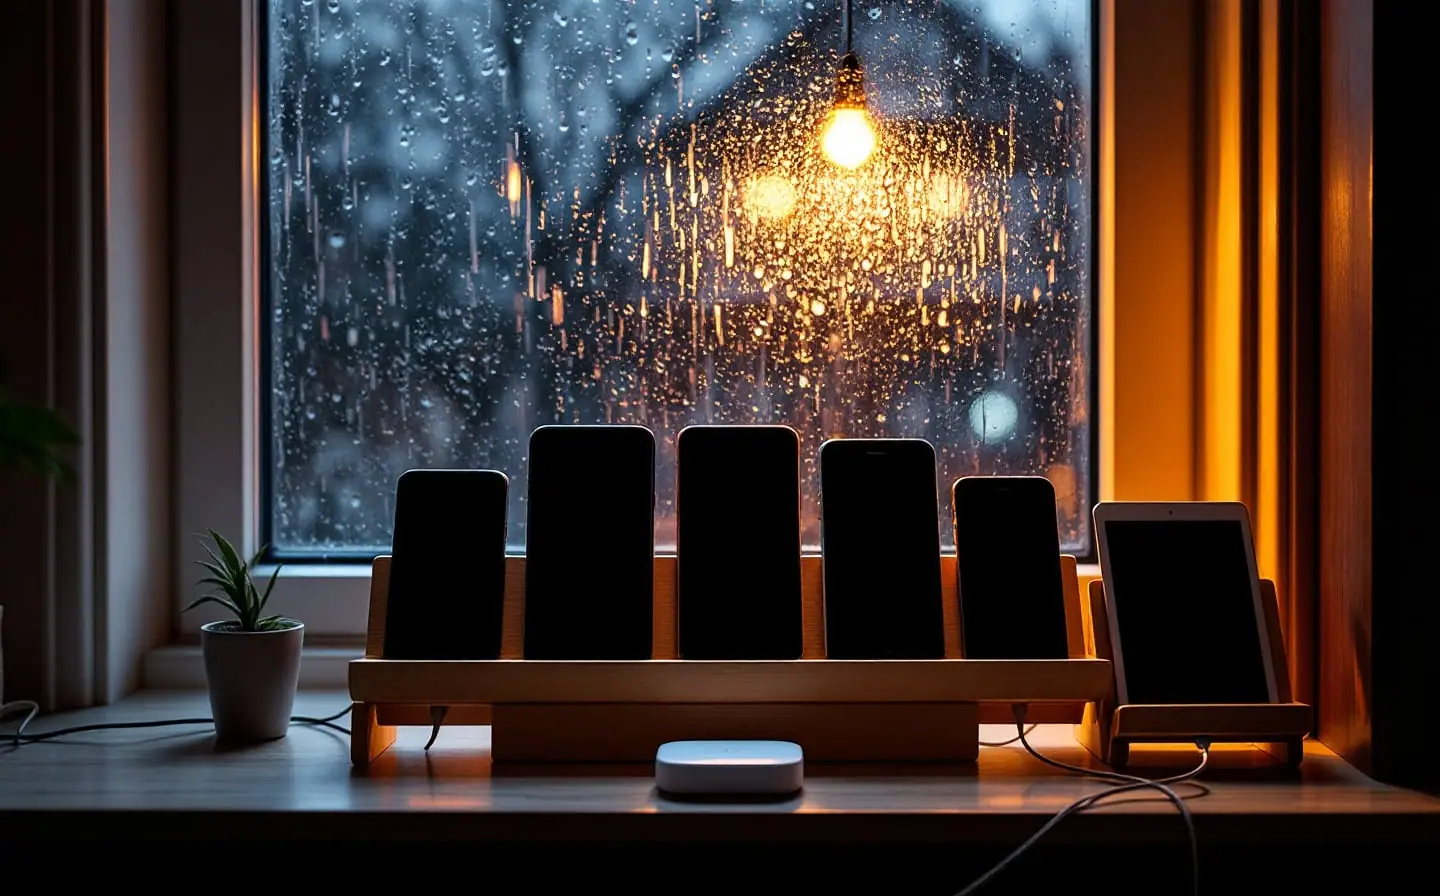
For years my test devices lived in a kitchen drawer in Rotterdam, under the takeaway menus, with cables that did not reach any socket. Finding the phone with the right Android version took longer than the test. One of them eventually developed a battery shaped like a small pillow, which is how the drawer era ended.
What I keep now fits on one shelf, was bought almost entirely second hand, and finds bugs that no emulator ever found for me. None of it is clever. It is a handful of devices with one clear job each, plus a powered hub, Wi-Fi debugging and a text file. This guide walks through choosing the devices by role, buying them refurbished, keeping them charged and connected, and deciding which ones get updates.
Why real devices still matter
I use emulators all day and run them in CI, and JVM screenshot tests catch layout regressions faster than any phone (I wrote about those in the snapshot testing field guide). But a class of bugs only shows up on hardware:
- Manufacturer changes to Android: how aggressively background work is stopped, how notifications are grouped, different default font and display sizes.
- Real memory pressure, on a phone with little RAM and a dozen other apps open, where your process gets killed while the user is in the camera.
- Slow storage and thermal throttling, which turn a fine cold start into a poor one after ten minutes of use.
- Hardware features: camera, Bluetooth, NFC, biometrics, sensors, and the GPU driver that renders one shadow differently from all the others.
- Touch. A thumb is not a mouse pointer, the on-screen keyboard covers the field you are typing into, and TalkBack with a real finger is a different experience from TalkBack in an emulator. If you test with a screen reader as part of an accessibility checklist, do it on a phone.
Start from your users, not a shopping list
Before buying anything, open Play Console. The Reach and devices section shows which device models and Android versions your users actually have, and the device catalog under it lists device models with their specifications and whether your app supports them. Android vitals breaks crashes and ANRs down by device model too, which tells you which hardware is already hurting you.
For a new app with no data yet, start from your minSdk and the markets you are aiming at. Either way, the goal is a spread, not a collection. Six to eight devices cover most small teams, and three well-chosen ones beat ten random ones.
The roles in a small lab
Think in roles, then fill each role with the cheapest decent device that matches. These are the roles I use.
| Role | What it catches | What to look for |
|---|---|---|
| Updated phone | New platform behavior as soon as it ships | A model still inside its manufacturer's update window |
| Typical user phone | What most of your users feel every day | A mid-range model 2-3 years old, from your top manufacturer in Play Console |
| Low-memory phone | Process death, slow starts, image memory | 2-3 GB of RAM, ideally an Android (Go edition) device |
| Oldest supported version | Code paths below your newest APIs | A phone on your minSdk or close to it, kept frozen |
| Small screen | Clipped text, buttons pushed off screen, keyboards covering inputs | The narrowest screen you can find, with font size turned up |
| Tablet | Large-screen layouts, multi-window, keyboard and mouse | Smallest width of 600dp or more |
| Foldable | Size and posture changes while the app runs | Only if your users own them or your layout adapts |
| Second manufacturer | Another skin's background limits and dialogs | A brand different from your typical user phone |
The low-memory role deserves a note. Entry-level phones built on Android (Go edition) are the purest version of it, and ActivityManager.isLowRamDevice() lets your app know when it is running on one, which is worth checking if you load large images or keep big caches. Developer options on any phone can approximate low memory ("Don't keep activities", "Background process limit"), and you should use them, but a real low-RAM phone with slow storage behaves differently from a flagship pretending.
The tablet is no longer optional for most apps. Android 16 ignores orientation, resizability and aspect ratio restrictions on displays with a smallest width of 600dp for apps that target API level 36, and Google's documentation says the temporary opt-out will stop working when you target API level 37. Play raises the minimum target API level every year, so a portrait-locked layout will meet a landscape tablet sooner or later. Better on your shelf than in a review.
The spread of versions matters for similar reasons. Android 13 made notification permission a runtime prompt, Android 14 added selected photos access, and Android 15 enforced edge-to-edge drawing for apps targeting API level 35. Each of those behaves differently depending on both the device's version and your target, and only a mix of devices shows you all the combinations.
Buying refurbished without regret
Refurbished phones are the backbone of a budget lab. Older models are fine for most roles, since you want the phones your users have rather than the ones in the shop window. A few checks save a lot of trouble.
- Buy from a seller that describes the condition and battery state honestly and offers a return window long enough to test the phone properly.
- Inside that window, factory reset the phone yourself. After the reset it must not ask for a previous owner's Google account. If factory reset protection is still active, send it back.
- Look at the battery. No raised back cover, no gap along the screen edge, no heat while idle on the charger. Some phones show battery health in Settings; use it where it exists.
- Connect it to your computer with a cable you know carries data and run
adb devices. A charging port that only charges is useless for a lab. - For the updated role, check how long the manufacturer promises updates for that model. For the frozen roles, this does not matter at all.
- If you need to test SMS sign-in or anything carrier-related, make sure the phone is not locked to a carrier.
Charging, storage and the drawer problem
Batteries are the weak point of any lab. Phones that sit on a charger at full charge for months age faster and can swell. Many phones now offer a setting that stops charging below full; turn it on everywhere it exists. For phones without it, put the hub on a mechanical timer plug so devices charge for a few hours a day. Keep "Stay awake" switched off unless you are running a long session, or the screens will wear quickly.
Use a powered USB hub with enough output for every port at once, and data-capable cables only. Label the cables that are data-capable; the ones that are not go in the bin, not back in the box.
Storage fills up with old builds, screen recordings and the caches of every app you ever installed to compare against. Uninstall old builds after each release and factory reset each phone every few months. Sign every device into one dedicated test Google account, never a personal one, so a reset costs nothing.
Finally, the text file. Mine sits in the repository and has one line per device: its number (written on tape on the back), role, Android version, whether it is updated or frozen, and the last reset date. It is the least interesting file in the project and the one I open most.
ADB over Wi-Fi
Cables are fine at the desk, but wireless debugging means you can pick up a phone and walk around with it, which is how most people use phones. On Android 11 and later, turn on Wireless debugging in Developer options, choose to pair with a pairing code, and run adb pair with the address and port the phone shows, then adb connect. Android Studio can do the same by scanning a QR code. Once paired, a phone reconnects on its own when it is on the same network. Older phones need a USB cable once to switch them into network mode with adb tcpip 5555. The adb documentation has the full steps, and it also warns that not every network allows adb traffic, so an office guest network may simply refuse.
With several devices connected, a small script installs the same build everywhere:
#!/bin/sh
# Build once, install the debug APK on every connected device
./gradlew :app:assembleDebug
APK=app/build/outputs/apk/debug/app-debug.apk
for serial in $(adb devices | awk 'NR > 1 && $2 == "device" { print $1 }'); do
  adb -s "$serial" install -r "$APK"
done
To see the screens without leaning over the shelf, Android Studio can mirror a connected phone in its Running Devices window, and scrcpy, an open-source tool, mirrors and controls devices from the terminal.
Updated or deliberately frozen
Decide per role and write it in the file. The updated phone and the typical user phone get system updates, because your users get them. The oldest version phone and usually the low-memory phone stay frozen: postpone or switch off automatic updates where the phone allows it, and never tap install on them out of habit. Mine has "FROZEN" on its tape in capital letters, which has worked so far.
When you raise targetSdk, most behavior changes only apply on devices running that Android version or newer. Test the bump on the updated phones first, then run your normal checks on the frozen ones to confirm nothing older broke on the way.
When to rent instead
Some devices you will need for an afternoon, not a year: the one model a user reported a crash on, or a foldable when you do not own one. Firebase Test Lab runs automated tests on real devices in Google's data centers, and Android Device Streaming, powered by Firebase, lets you drive a remote physical phone from Android Studio. Use them for the edge cases and keep the shelf for daily work.
If you are starting from nothing, buy three: a typical user phone from your own Play Console data, a low-memory phone, and a tablet. Put a number on the back of each, write its role in the text file, and add the others as bugs tell you which role is missing. More on hardware for app makers is on the tools and devices track.
Keep reading
A mobile developer's desk: hubs, cables, chargers and stands
What a mobile developer's desk needs: USB-C hubs and specs that matter, data versus charging cables, multi-port chargers, phone stands and a second screen.
Snapshot testing for iOS and Android: a field guide
How snapshot tests work on iOS and Android, which libraries to use, how to record and verify, where flaky diffs come from and what is not worth snapshotting.

Mobile app accessibility: a working checklist for small teams
A release by release accessibility checklist for small mobile teams: screen readers, text scaling, touch targets, contrast, icon labels and motion settings.