Portable monitor for MacBook: a second screen for the simulator and logs
How to choose a portable monitor for a MacBook: what one USB-C cable must carry, your Mac's display limit, 1080p scaling and portrait mode for phone layouts.
 Sanne Verbeek · · 8 min read
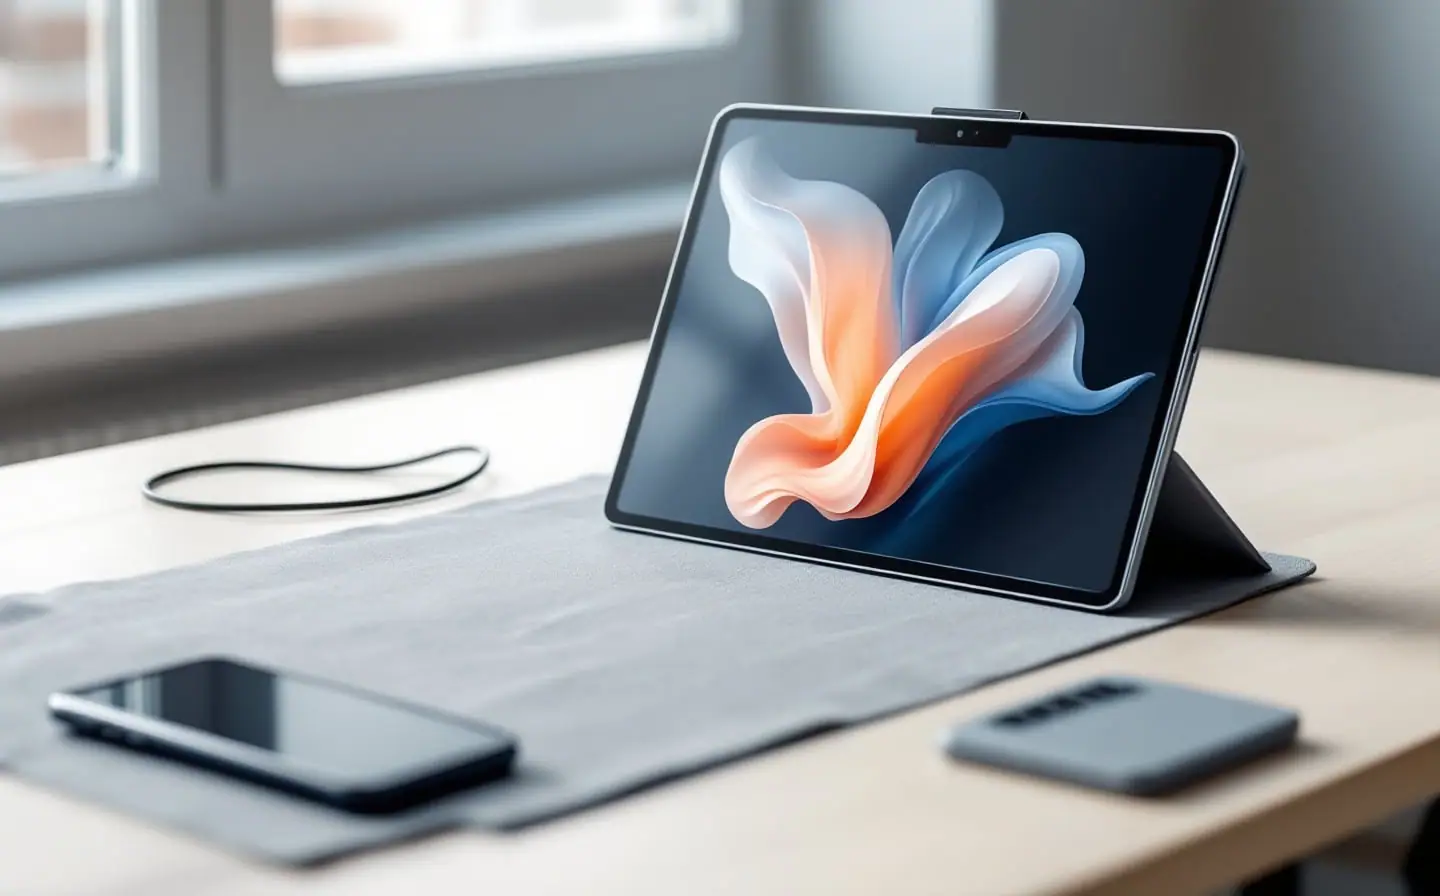
When I review an app's interface for a piece, I have three things open at once: the design file, the simulator and my notes. A 13-inch laptop screen holds two of them, badly. At home a desk monitor fixes that. On a train, in a coworking space or in a conference hallway, a portable screen of about 15.6 inches does most of the same job and travels in the same bag as the laptop.
Whether one works well with a MacBook comes down to a handful of details: what the cable has to carry, how many screens your model will drive, what macOS does with a 1080p panel, and whether the screen can stand on its end. Each is below, then three screens to shortlist. I chose them from their published specifications and what buyers describe in reviews, not from having them on my own desk.
Contains affiliate links. Purchases through our eBay links can earn us a commission too.
What one USB-C cable has to carry
A USB-C plug says nothing about what travels through it. For a monitor the cable has to carry video, and in a single-cable setup it also brings power to the screen. Video over USB-C normally uses DisplayPort Alternate Mode, which borrows the cable's high-speed wire pairs for the display signal. VESA's overview of DisplayPort over USB-C shows how video, USB data and power share one connector.
Three things have to line up for that to work:
- The port on your Mac. Apple's tech specs list which ports carry video. On some Macs only certain ports are meant for displays, so don't assume every port is equal.
- The cable. A USB-C cable made for charging, or one rated only for USB 2.0 data, doesn't have the high-speed wires that Alternate Mode needs. It powers things and shows no picture. A high wattage rating tells you how much power a cable handles, not whether it carries video. Use the cable that comes with the monitor, or one sold as supporting video.
- Power for the screen. A monitor that runs from one cable takes its power from the laptop. That's lovely on a train and costs battery. At a desk, plug the MacBook into its charger and the trade-off disappears. HDMI carries the picture but not the power a screen needs, so a monitor on HDMI wants its own supply.
How many screens your MacBook will drive
A portable monitor counts as an external display like any other, and every MacBook has a fixed maximum. Some models drive one external screen, others several, and the number can also depend on the resolution and refresh rate of each display. Apple's guide to connecting external displays gives the quickest way to look it up on the Mac itself: choose Apple menu > System Settings, click Help in the menu bar, choose the Specifications entry for your Mac, then scroll to Display Support or Video Support.
If you already use a desk monitor, this number matters more than anything about the portable one. A hub doesn't raise it, as Apple's display pages for MacBook Air and MacBook Pro point out. On a model limited to one external display, the portable screen becomes the second screen at a café and stands in for the desk monitor at home, rather than joining it.
One setting is worth knowing before a meeting: the Use as menu in System Settings > Displays switches the portable screen between extending and mirroring. Mirroring is handy across a table when you show someone a prototype.
1080p at 15.6 inches, and what macOS does with it
All three picks have a 1080p panel, 1920 by 1080 pixels over 15.6 inches. That works out to about 141 pixels per inch, well below the density of a MacBook's built-in Retina screen. macOS treats it as a standard-density display and runs it at its native 1920 by 1080, one pixel per point, without the extra sharpness it gives a Retina panel.
So interface elements come out a little smaller than on the laptop's own screen at its default setting, which surprises people who expect a bigger screen to mean bigger text. Small type and thin strokes also look rougher than on the Retina display or on an iPhone.
If the text feels too small, pick another resolution in System Settings > Displays (turn on Show all resolutions for the full list). Anything below 1920 by 1080 makes everything larger, but the picture no longer lines up with the panel's pixels and it goes soft. Apple also notes that a scaled resolution may affect performance. I leave it at the default and zoom the design file instead.
For a designer, this sets the second screen's job. It's good for layout, hierarchy, spacing, long lists and logs. It's the wrong place to judge a half-point hairline or the weight of a light font. Check those on the Retina screen, or better, on the phone.
Portrait mode for phone layouts and long logs
Standing the screen on its end is the feature I'd look for first. In portrait the panel is 1080 pixels wide and 1920 tall, roughly the shape of the thing most of us design. A phone frame fits at full height with room to spare, and you can see much further down a scrolling screen than in landscape.
Logs gain even more: a tall window holds close to twice as many lines, so a stack trace in the Xcode console or an adb logcat stream stays in view while the app runs on the laptop screen.
The Mac has to be told. In System Settings > Displays, select the portable screen, choose an angle from the Rotation pop-up menu and click Confirm. Choose Standard to go back. Apple's page on rotating the image on your display adds that the option depends on the display, and that you should check the monitor's documentation to make sure it's safe to use rotated.
Check how each screen stands in portrait, too: a kickstand made for both orientations, a folding case or a separate stand. Auto-rotation sounds ideal, but the Mac draws the picture, so something on the Mac has to learn that the screen turned. If a listing promises it, check the maker's support pages for macOS first. The Rotation menu takes seconds anyway.
Using the second screen to check contrast and type sizes
A second panel is also a second opinion. Any two screens differ in brightness and color, and side by side the difference is hard to miss. When a light gray caption reads well on the laptop and fades on the portable screen, that color pair is close to the edge.
Don't settle it by eye, though. Measure it. WCAG 2.x asks for a contrast ratio of at least 4.5:1 for body text and 3:1 for large text, and my accessibility checklist for small teams covers the rest of the routine I run before a release.
Type size is easier to judge against the real thing. Put a test phone on a stand next to the portable screen, open the same screen on both, and compare line lengths and wrapping at the largest text sizes. In portrait, the tall canvas shows how far a layout stretches at the biggest Dynamic Type setting, which is where truncated labels and overlapping buttons tend to show up first. The upright screen is also a good place to look at store screenshots in their real proportions; the icon and screenshot size reference has the dimensions and a live preview.
How the three compare
| Screen | Panel | Connection | Stand | Suits |
|---|---|---|---|---|
| ASUS ZenScreen MB16ACV | 15.6 inch, 1080p, IPS | One cable for power and video | Kickstand, portrait or landscape | A one-cable setup for the bag and the desk |
| ASUS ZenScreen MB16ACE | 15.6 inch, 1080p, IPS | USB-C | Case folds into a stand | Switching between a phone layout and logs, with auto-rotation |
| KYY 15.6-inch | 15.6 inch, 1080p | USB-C and HDMI | Check the listing photos | A Mac with an HDMI port free on a hub or on the laptop |
Three screens to shortlist
The ASUS ZenScreen MB16ACV is where I'd start for a MacBook. Its listing says one cable carries power and video, and the kickstand holds it in portrait or landscape, which covers the two things this piece keeps coming back to. Away from a charger, the laptop's battery carries the screen as well.
The ASUS ZenScreen MB16ACE has the same size and 1080p IPS panel, connects over USB-C, and its case folds into a stand. Its listing adds auto-rotation, so the picture turns when you turn the screen. That suits flipping between a phone-shaped layout and a long log several times a day. Confirm the rotation feature works under macOS first, as above.
The KYY 15.6-inch portable monitor is the flexible one: a 1080p panel at 15.6 inches with both USB-C and HDMI. HDMI helps when your Mac's video ports are already taken, or when you connect through a hub's HDMI port or the one on a 14- or 16-inch MacBook Pro. On HDMI, plan for separate power.
Three small things help around the screen. A hub with HDMI gives that route a place to land, though it still counts toward your display limit. A 240 W cable belongs on the laptop's charger, so the battery isn't feeding the monitor all afternoon; keep the monitor's own cable for the picture. A folding stand puts the test phone at eye level beside it.
Hubs, cables and chargers get more room in Ruben's guide to a mobile developer's desk.
Questions
Can a MacBook power a portable monitor on its own?
Usually, if the monitor is designed to run from one USB-C cable and the port carries video. The screen then draws its power from the laptop, so the battery runs down faster away from a charger. At a desk, connect the MacBook's charger and that stops mattering.
Why does the portable screen stay dark over USB-C?
Start with the cable. A charging cable or a USB 2.0 cable carries power but not video, so try the one that came with the monitor. Then check that the port you used carries video on your model, and that you haven't reached your Mac's limit of external displays.
Is 1080p sharp enough next to a Retina MacBook?
For layout, simulator windows, documentation and logs, yes. Text is visibly softer than on the built-in screen and a little smaller at the default resolution. Judge fine type and hairlines on the Retina screen or on a phone.
Does portrait mode work on a Mac?
Yes, through the Rotation menu in System Settings > Displays, where the display supports it. Auto-rotation is a separate feature that needs the maker's support on macOS, so confirm it before you rely on it.
Keep reading
A universal travel adapter for conference trips: plugs, volts and power
Choosing a universal travel adapter for a conference trip with a laptop and test phones: plug types, voltage labels, grounding, USB-C and power bank rules.
Dark mode done properly: contrast, color and images
How to build a dark mode that holds up: layered surfaces, brand colors that don't glare, contrast checks, images, icons and a test routine for both platforms.
A 100W USB-C charger for a laptop and test phones on one socket
How a 100W USB-C GaN charger shares power between a laptop and test phones, what a MacBook needs to fast charge, which cables to use, and three picks.