A mobile developer's desk: hubs, cables, chargers and stands
What a mobile developer's desk needs: USB-C hubs and specs that matter, data versus charging cables, multi-port chargers, phone stands and a second screen.
 Ruben Mertens · · 8 min read
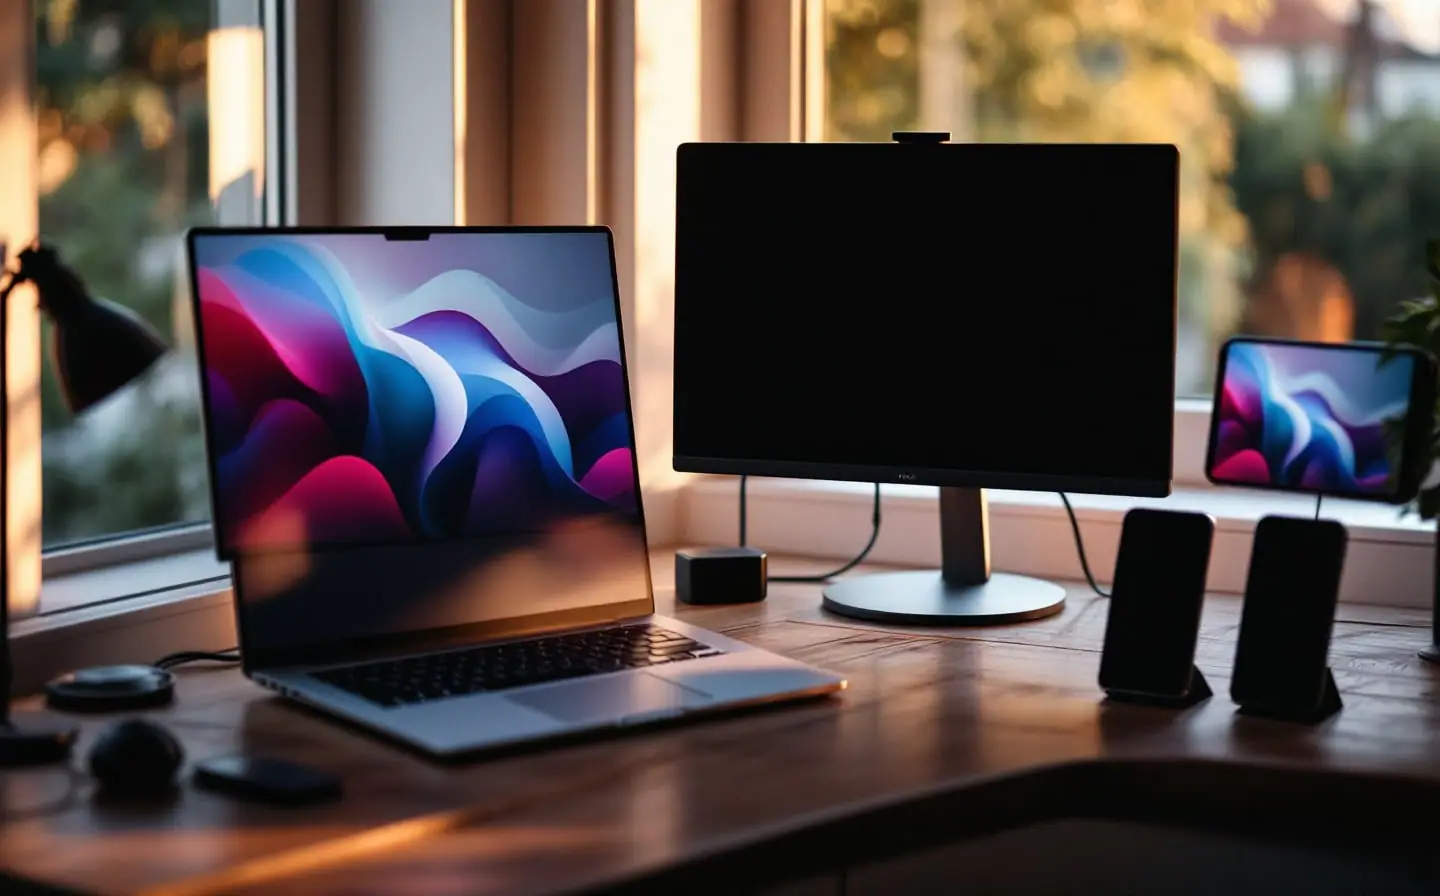
My desk in Ghent holds one laptop, one external monitor and, on a normal day, four test phones and a tablet. Every one of those devices wants power, most of them want data, and for a long time the space between them was a tangle of cables collected from old phones, conference bags and client handovers. Twice in one month I lost the better part of an hour because a phone wouldn't show up in Xcode, and both times the answer was the cable.
None of what follows is exotic. It's the stuff that sits between your computer and your devices, which nobody chooses carefully because it looks like it should just work. Here is what I check now, with generic product types and the spec numbers that matter.
Count what you plug in before you buy anything
Start with a list, not a shopping cart. Write down every device that touches your desk on a working day and what each one needs: power only, data, video or a network cable. Mine reads like this: the laptop (power, video, data), the monitor (video), two iPhones and one Android phone for daily testing (data and power), a spare Android phone and a tablet (mostly power), a keyboard, and a wired network adapter for the days the Wi-Fi gets moody.
That list tells you how many ports you need and of which kind, and it usually shows that one hub can't do everything. That's fine. Splitting the job between a hub for the laptop and a separate charger for the devices tends to be cheaper and more reliable than one box that tries to do it all.
USB-C hubs: read three numbers
Power Delivery wattage
If the hub charges your laptop through the same USB-C cable that carries data and video, it uses USB Power Delivery. In the standard power range, USB PD goes up to 100 W (20 V at 5 A). The extended power range added in USB PD 3.1 goes up to 240 W (48 V at 5 A), though few hubs and laptops use that much. The number to read is the pass-through figure, not the input figure. A hub that accepts 100 W from its adapter keeps some of it for its own ports, so the laptop gets less. If the pass-through sits below what your laptop draws during a long build, the battery drains slowly all day while it looks plugged in.
Data speed, per port
USB 2.0 tops out at 480 Mbit/s. USB 3.2 Gen 1 runs at 5 Gbit/s, Gen 2 at 10 Gbit/s, and USB4 goes to 40 Gbit/s. The headline speed on a hub's box may apply to one port only, with the others slower, so read the speed of each port. For running and debugging an app on a phone, USB 2.0 is enough. For copying screen recordings, large builds or device logs all day, faster ports save real minutes.
Display output
Check the maximum resolution and refresh rate listed for each video port, not only the port type. On a Mac there's a catch worth knowing before you buy: macOS doesn't support DisplayPort Multi-Stream Transport (MST) for an extended desktop. A hub that drives two monitors through MST will show the same mirrored image on both. Apple's laptops also differ in how many external displays they support, with the base chips supporting fewer, so check your model's technical specifications first.
| What to check | Where you feel it | What I look for |
|---|---|---|
| Pass-through power | Laptop charging during builds | At or above what the laptop draws under load |
| Speed per data port | File copies, logs, recordings | At least one 10 Gbit/s port |
| Display output | The second monitor | Resolution and refresh rate listed per port |
| MST for two screens | Mac users | Don't rely on it; macOS mirrors |
| Wired network port | Unreliable Wi-Fi, big downloads | Nice to have |
Cables: charging is not the same as data
This is the part that cost me those two hours. Some cables, mostly older USB-A to micro-USB ones and cheap freebies, carry power and no data at all. Plug a test phone in with one and it charges happily while Xcode, or adb devices on the Android side, sees nothing. You start suspecting the phone, the trust prompt, the developer settings, and the cable is the last thing you check.
USB-C cables almost always carry data, but many carry it only at USB 2.0 speed. That includes the cable in the iPhone box: Apple's own support page says it supports charging and USB 2 speeds, while the Pro iPhones with USB-C can reach USB 3 speeds of up to 10 Gbit/s with a separate USB 3 cable. For running and debugging an app, USB 2.0 is fine. For pulling a long screen recording off the phone, it's slow.
Power is the other half. A USB-C cable without an electronic marker chip is limited to 3 A, which means 60 W at 20 V. For 100 W or 240 W, the cable must be rated for 5 A and carry that e-marker. A thin cable that came with a phone can leave a laptop charging slower than you expect, with nothing on screen to tell you why.
Label everything
I label every cable at both ends with a small tag that says two things: data speed and power rating. "USB 2, 60 W." "10 Gbit, 100 W." Cables with no data at all go in a drawer for travel charging, and cables I can't identify go to recycling. It takes one evening and saves that lost hour every time a device stops showing up.
A multi-port charger for the test devices
Test phones need power, but they don't need to hang off the laptop's hub. A desk charger with several USB-C ports keeps them topped up without stealing pass-through power from the laptop. Read two numbers here as well: the total wattage, and what each port delivers when all of them are in use. Those are often very different, and the per-port figure is the honest one.
Many multi-port chargers also renegotiate power when you plug in another device, and the devices already connected can drop out for a second. For a phone that's only charging, it doesn't matter. For a phone in the middle of a debug session, the drop can end the session. That's another reason to keep the phone you're actively debugging on a data cable to the computer and the rest on the charger.
Phones that sit at full charge on a desk for months also wear their batteries faster. Where a phone offers a charge limit setting, turn it on for every device that lives on the desk. If you look after a bigger set of Android phones, this guide to building a small Android test device lab goes further into charging and storage.
Phone stands
A stand looks like a luxury until you've spent a week testing with a phone flat on the desk, bending over it and tilting it away from window glare. An upright phone at eye level is easier to read, easier to tap while you watch logs on the big screen, and steady enough to mirror to the laptop when you record a demo or capture store screenshots.
What to check: that it holds the phone in both portrait and landscape, that the base is heavy enough to stay put when you tap near the top of the screen, and that a cable fits behind or through it without bending hard at the connector. One stand per device you actively test on is enough. A tablet needs its own, wider one.
A second monitor
If I could buy only one thing from this list, it would be the monitor. Xcode on one screen; the Simulator, a design file or the logs on the other. It cuts window switching more than any keyboard shortcut does. Reviewing visual changes side by side, for example when you're reading snapshot test diffs, is much easier with real space.
Size matters less than resolution and arrangement. Some developers turn the second screen to portrait for logs and documentation, and some hate it. Try both for a week before you decide, and before you buy a bigger one.
Wireless debugging is a backup
Xcode can run and debug apps on a phone over the local network, and Android has offered wireless debugging in its developer options since Android 11. Both help when you're short on ports or the phone sits in a stand across the room. Both are also slower and drop at bad moments. I use them as a fallback, never as a reason to skip a good cable.
The checklist
- List every device on your desk and what it needs: power, data, video, network.
- Compare the hub's pass-through power with what your laptop draws while building.
- Check the data speed of each port, and keep one fast port free for transfers.
- On a Mac, don't plan two extended monitors over an MST hub.
- Sort out charge-only cables and keep them away from your test devices.
- Label every remaining cable at both ends with its data speed and power rating.
- Keep one USB 3 cable for the phones that support it, for recordings and big files.
- Put idle test devices on a multi-port charger, not on the laptop's hub.
- Turn on a charge limit on phones that live on the desk, where the setting exists.
- Get one stable stand for each phone you actively test on.
- Add a second monitor before you add anything else.
Do the cable sort first. It costs nothing, it takes an evening, and the next time a phone refuses to show up in Xcode you'll know within a minute whether the cable is to blame.
Keep reading
Building a small Android test device lab on a budget
How to pick Android test phones by role, buy them refurbished, keep them charged and connected over Wi-Fi, and decide which to update and which to freeze.

From mobile developer to engineering manager: what changes
A freelance iOS developer looks back on two years as a mobile team lead: the calendar, one-to-ones, hiring, saying no, and why going back to code is fine.

Getting real value from a tech conference: a practical checklist
Pick the right kind of conference, set two goals, use the hallway, keep notes that survive the trip home and share them so the next budget request is easy.